 |
Actor John Patrick Stuart portraying Colonel Porter Alexander,
Longstreet's corps artillery commander at Gettysburg.
(image from the film "Gettysburg") |
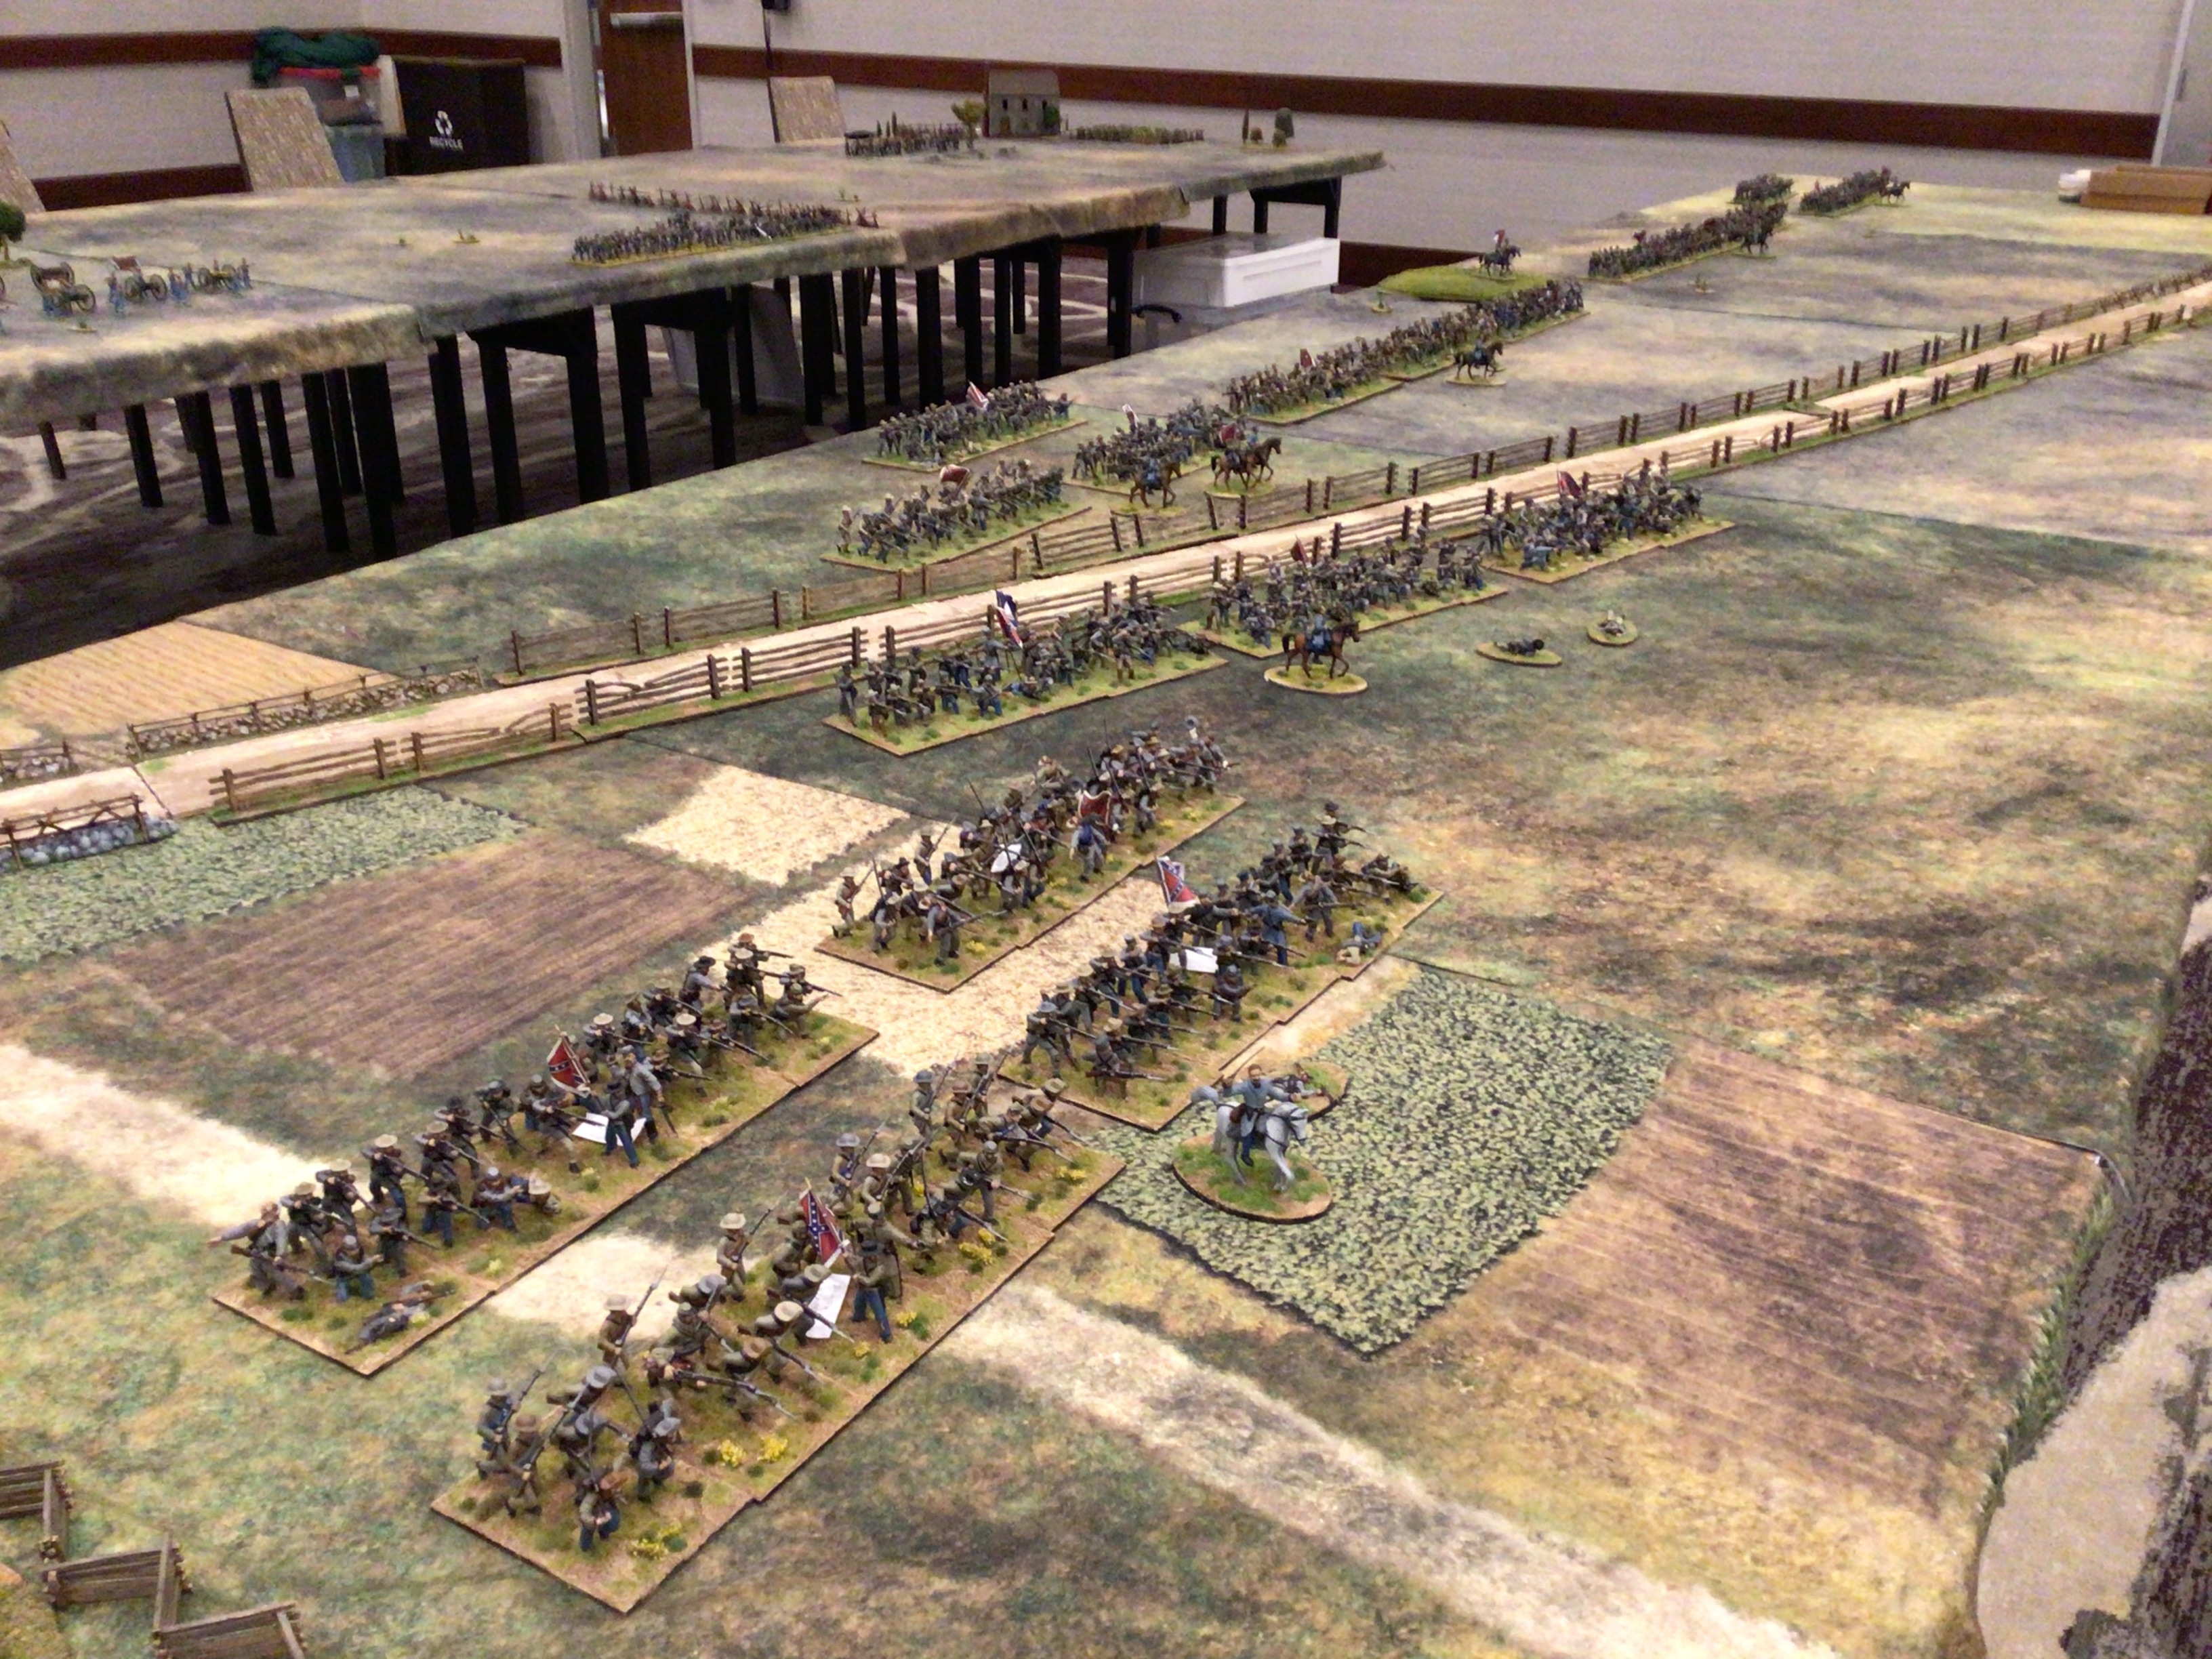
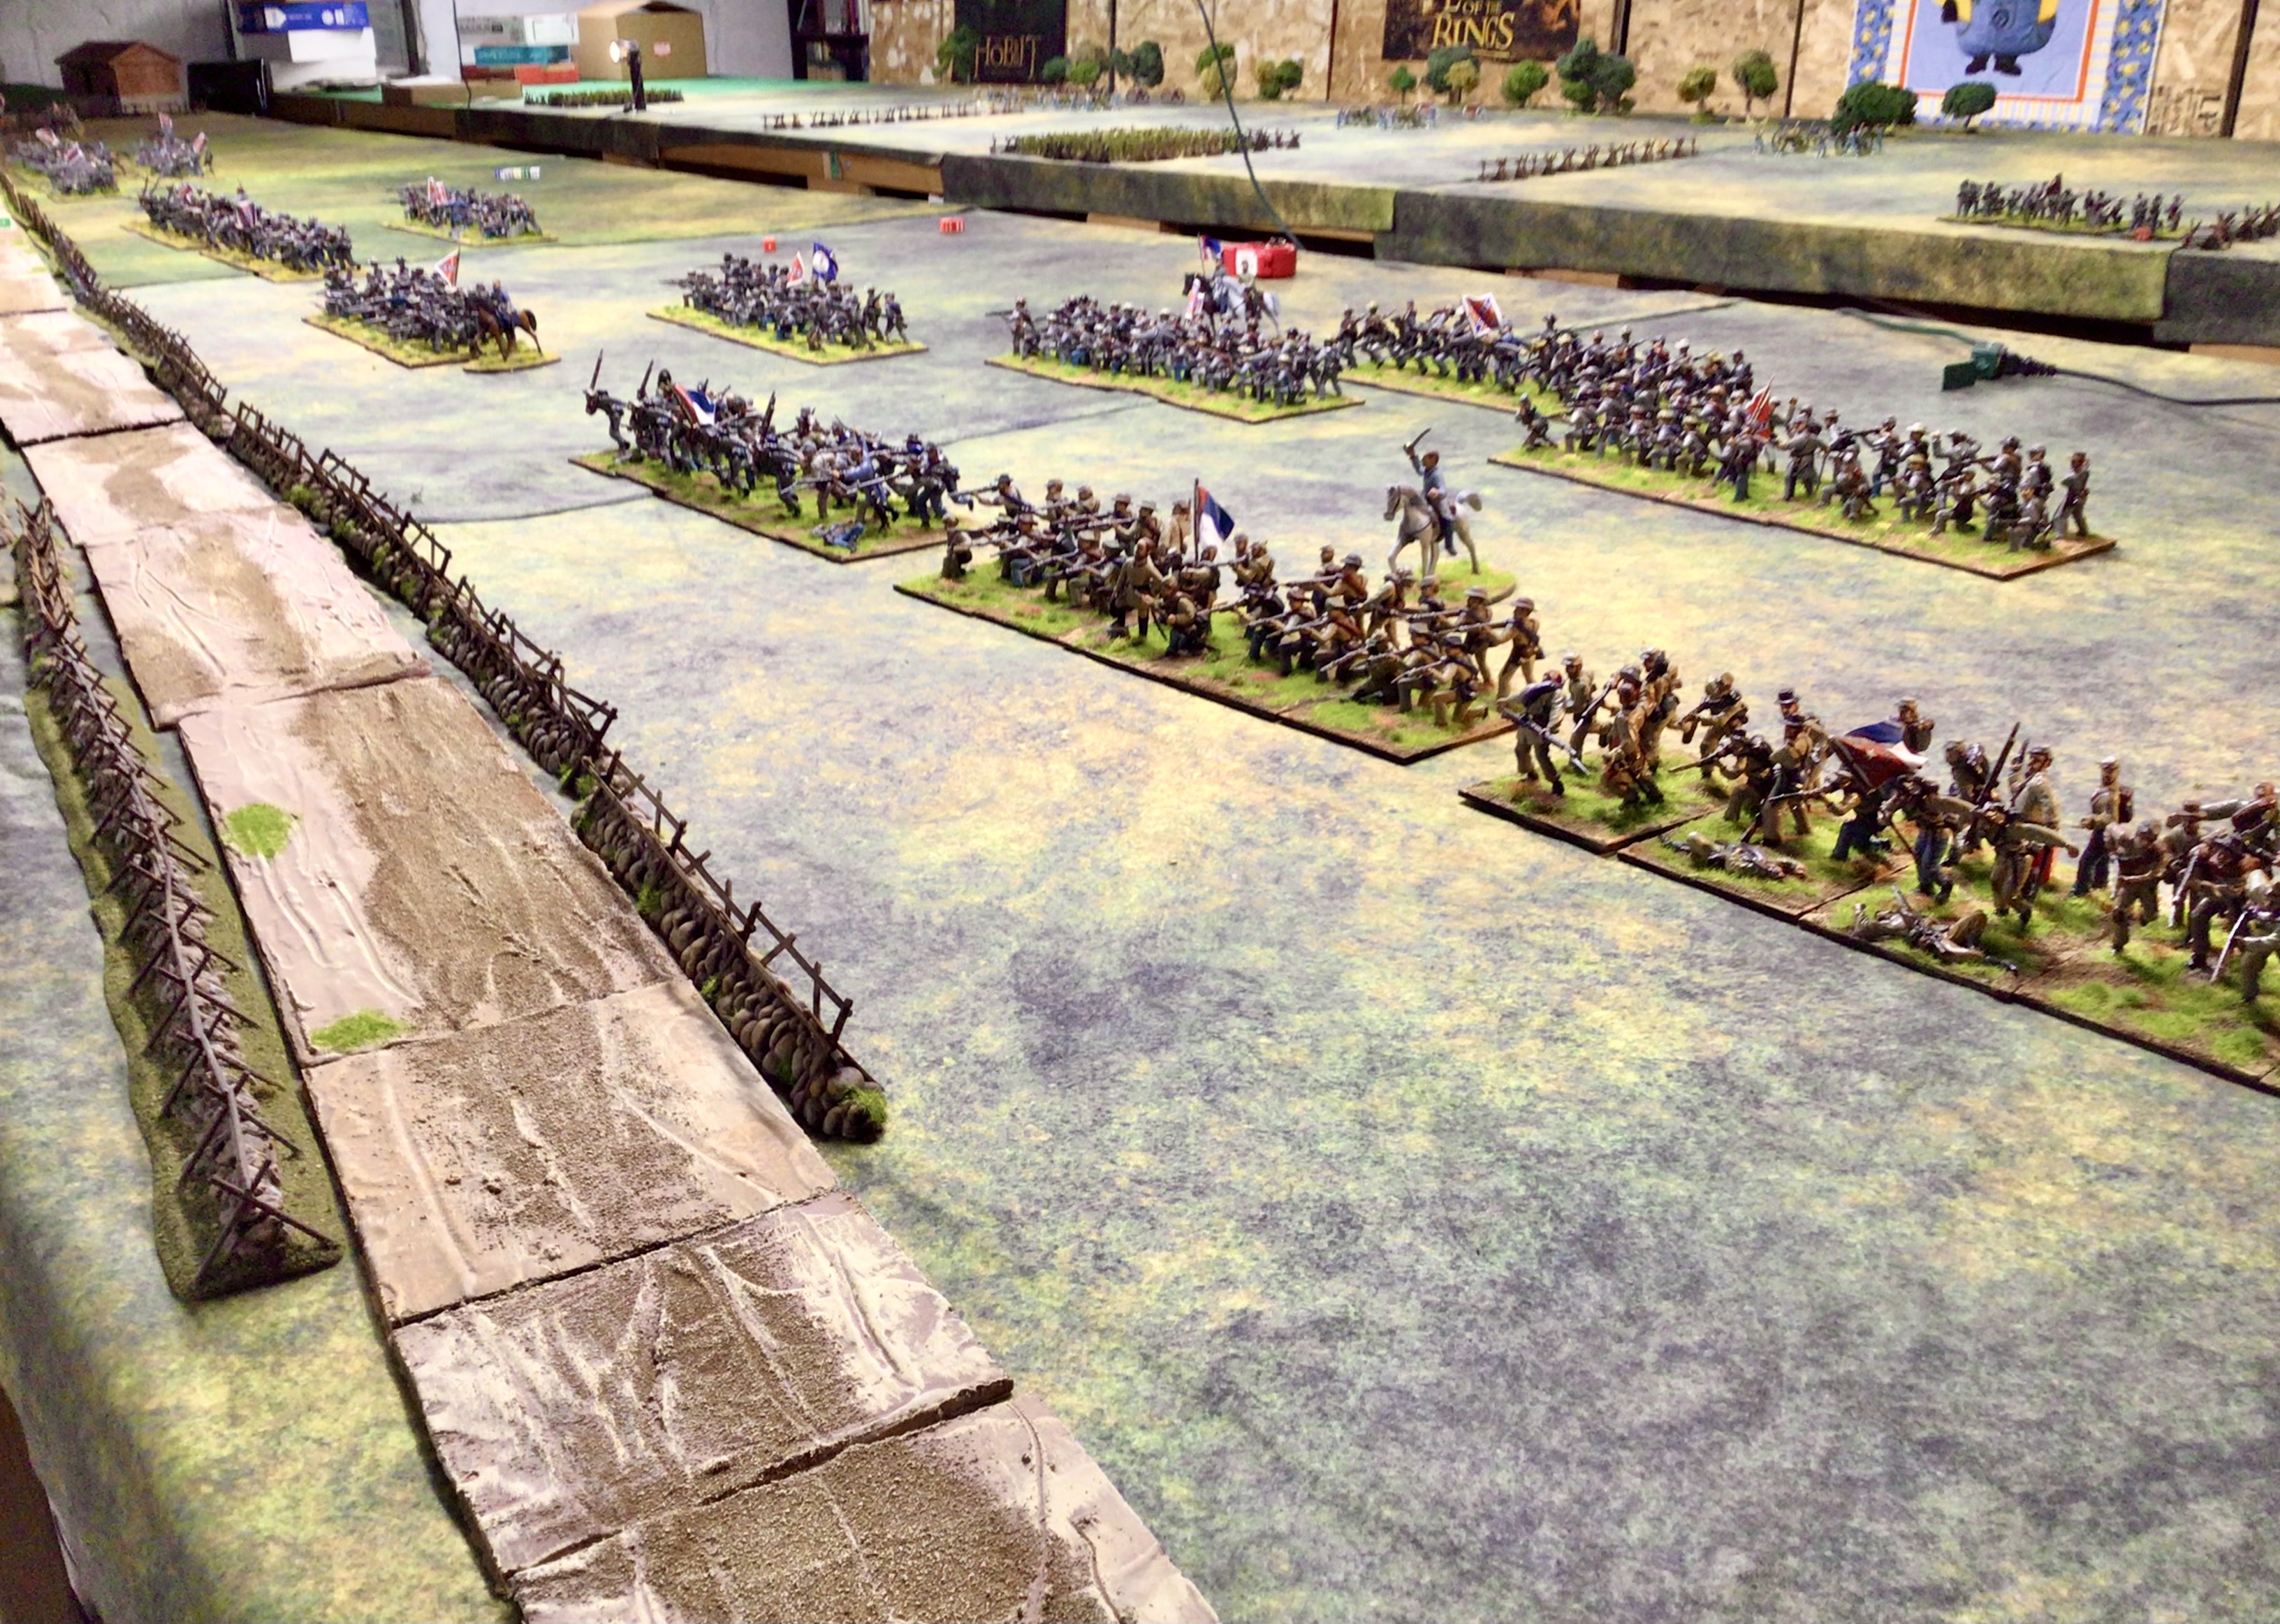
Artillery played an important role during Pickett's Charge on Day Three of the Battle of Gettysburg, as it will in my 54mm Pickett's Charge war game at the upcoming Little Wars convention (April 18-21, 2024). I thought that it would be a good idea to have an overall commander of the Confederate artillery in my game so I endeavored to make my own version of Colonel Porter Alexander.
Longstreet: how old are you son?
Alexander: I am 28 years old, sir.
Longstreet: uh huh
I like the color of the Confederate artillery soldiers with their red kepis and facings as the uniform adds a bit of color to the otherwise drab grey and butternut uniforms of the Confederate army. I wanted Alexander to be looking through his binoculars, as he does frequently in the movie "Gettysburg" (1993), however, I could not find a suitable 54mm figure of a mounted officer with binoculars, so I would have to convert some figures and make my own Porter Alexander figure.
 |
Colonel Porte Alexander (left) and Brigadier General James Kemper (left).
Standing figure is a generic Confederate officer. |
Colonel Alexander and Brigadier General James Kemper figures were made from one particular Americana brand figure. The picture below shows the figures used to make the conversions of Alexander and Kemper. The officer standing figure from Armies In Plastic donated his arms and binoculars to Colonel Alexander, for which the latter is no doubt grateful to have.
 |
Basic Americana mounted officer (left); Kemper figure (middle) and Alexander figure (right)
Armies In Plastic Union artillery officer shown standing. |
As you can see, I made both commander figures from the same Americana officer and did some head swaps from other figures that I had. To start, I lopped off the head of the Americana officer and also decapitated the head of a Confederate soldier wearing a brimmed hat and I put the brimmed hat head onto the Americana torso to make Kemper. I also carved off the reins of the horse and made new ones out of florists' wire and put the reins in Kemper's hands.
 |
| Colonel Alexander conversion work in progress |
Porter Alexander proved to be a more difficult conversion operation to perform. Doctor Fritz started by beheading the Americana officer and removing his arms. I took another Americana figure wearing a kepi and put his head on the officer's torso, using a pin to connect the head to the torso. Some green epoxy putty was used to fill in the gap around the neck of the figure.
Next step was to carve off some of the torso below the arms to thin the piece down and make it ready to attach the arms. The Armies In Plastic officer had removable arms to I did not have to do any surgery to remove his arms. Then I drilled holes into the shoulders of the mounted officer and fit in the set of arms with the binoculars. I made sure that the binoculars fit in at eye level for the kepi head and then I glued the arms onto the torso using Super Glue. Then I used more green putty to fill in the gaps around the arms and to smooth out some of the cuts that I had made to the lower torso of the officer figure.
At this point the converted figure is finished but it looks rather rough. I knew that the figure would look fine after it was painted. I would have liked to have put Alexander on a standing horse, and I have no doubt that I could have done this work on the horse shown in the pictures, but I didn't think that it was worth the time spent, so I left him on a walking horse.
Here are some pictures of the converted figures from various angles. The officer on foot is merely a head swap conversion.
So now all that is left to do is to glue the officer figures to bases, using epoxy glue, and then terraining the bases with my usual mix of spackle, paint and fine ballast material. I have another, final, play test game tomorrow so the bases will likely not get the usual static grass and tufts to finish them off. This will be done on another day.


